How To
What is Adobe Illustrator? Tutorial for Beginners
- July 12, 2021
- Updated: July 2, 2025 at 4:03 AM

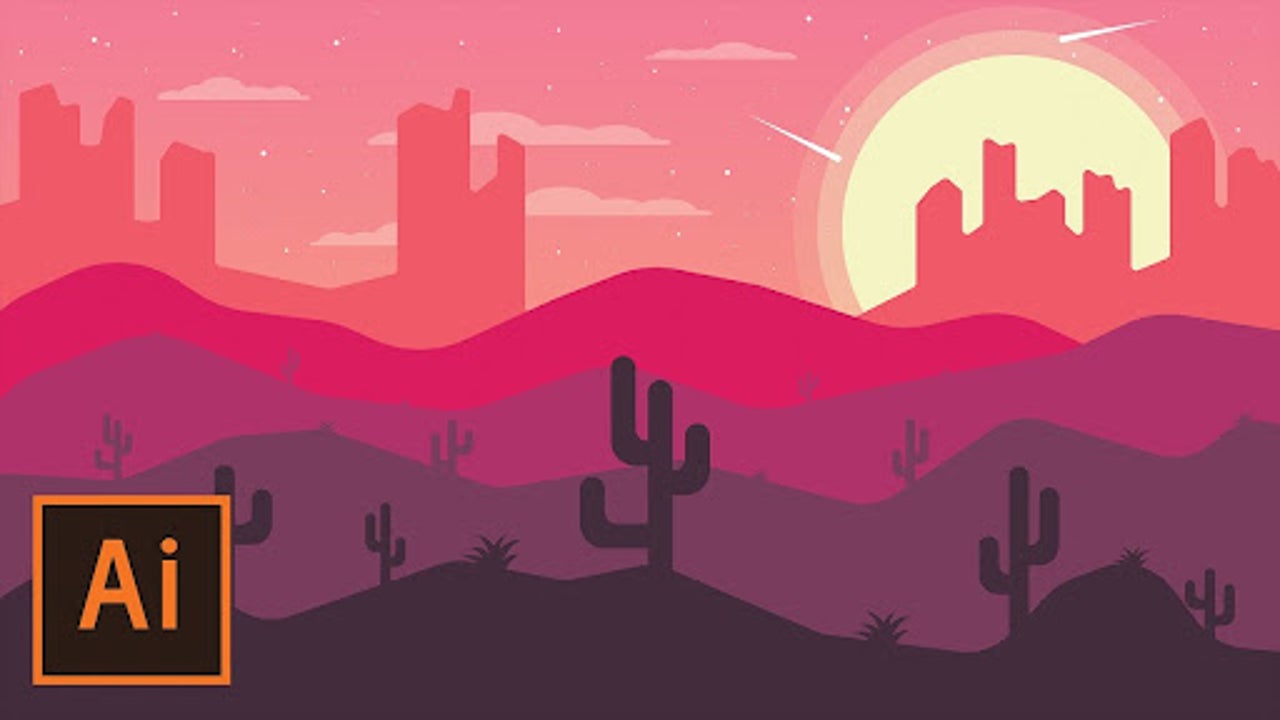
Adobe Illustrator is especially useful for creating high-quality vector images. Vector images are computer-generated and consist of points, lines, and curves based on mathematical equations. These image files are very flexible and can easily be resized without a loss in resolution.
It’s usually used as part of a larger design workflow. It allows designers to create single design elements and even complete compositions. Let’s take a closer look at what Adobe Illustrator is and how it works.
Guide on How to Use Illustrator for Beginners
Let’s take a look at some of the basics of how to use Illustrator.
Create and save a new document
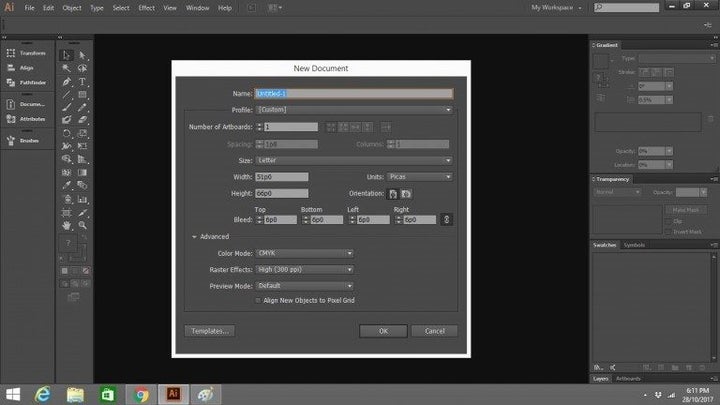
To start working in Illustrator, you will have to create a new document. To do so, open the program. The Work tab should open automatically. Select it if it doesn’t. Then click the Create new button. A new window will appear and ask what it is you want to create. Select the one you want (for instance, Web or Print), then choose a preset, and click Create.
Once you have created your document, you should save it. In the upper left-hand corner, go to the File menu and in it choose Save as. Name your file and decide where you want to save it (e.g. Desktop or Documents). Then go to Format and select the format you want to save it in. Save, and your document is ready for you to work on.
The Workspace and Tools
To use Adobe Illustrator to its best advantage, you need to know your way around.
Firstly, become familiar with the workspace to locate what you need to create your graphics. It would help if you also got to know the essential tools and what they’re used for.
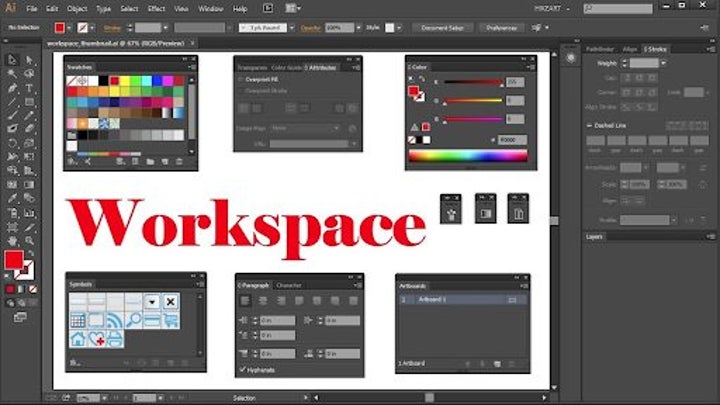
The Illustrator workspace is similar to those of other graphics programs like Photoshop. It’s a rectangular area containing all the tools you need and the space in which to create your graphics.
You’ll use the Tools panel on the left the most because it contains all the tools you’ll need for whatever task you’re undertaking. There are a lot of tools, but you don’t have to learn them all at once.
To configure the tool you’re using, go to the Control Panel at the top of the rectangle. The Panel Docking Area on the right holds color swatches, layers and other palettes, gradient settings and stroke options. Experimenting with all of these will help you become familiar with them. You’ll develop your own preferences as you become comfortable with the tools.
Creating Basic shapes
Most designs you’ll want to create in Adobe Illustrator will require that you start with basic shapes. The most useful tool for doing this is the Pen tool, which will allow you to draw a variety of lines, triangles, curves and squares.
These shapes can then be combined in different ways and built up to create a drawing that can be the basis of an icon or a logo, for instance.
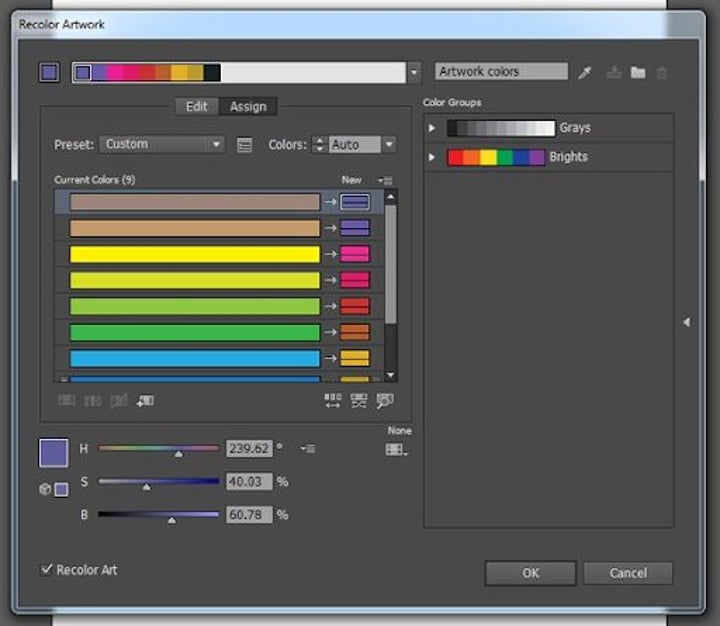
The shapes can then be filled with color, from Illustrator’s extensive colour range using the Eyedropper, another valuable and popular tool. It allows you to pick up a color of your choice and drop it into a shape.
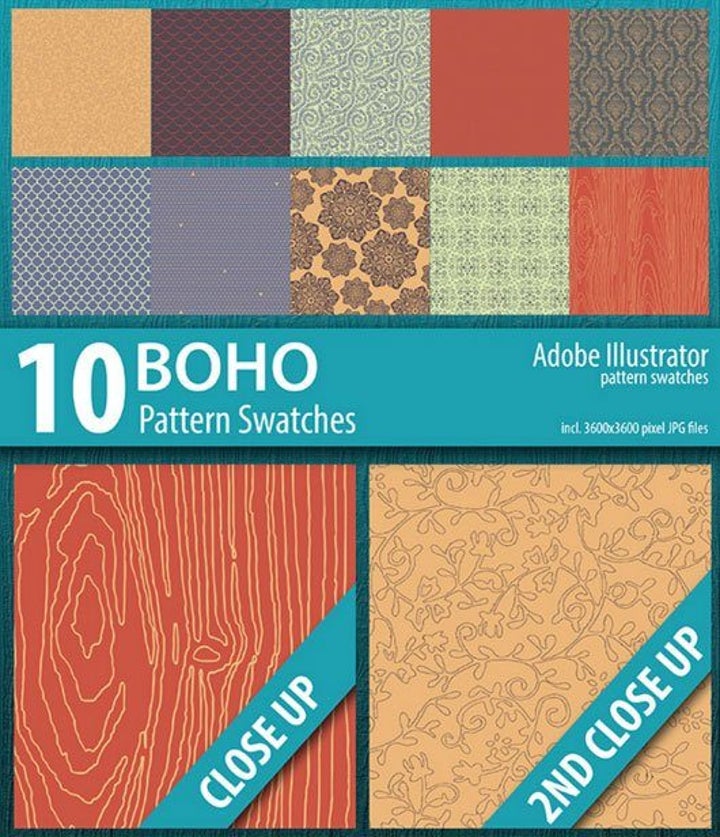
Illustrator also has a Swatch library. It offers an amazing range of patterns and textiles and stunning gradients and palettes of different skin colours. To find them, go to the Swatches panel and into its drop-down menu. Choose Open Swatch Library and be amazed at the selection.
The Shape builder tool and the Pathfinder option can help you manipulate your shapes to draw your desired design. You can unite, exclude, divide and intersect your shapes to create your graphics or drawings The Appearance panel will allow you to add different effects to make your graphics really exciting. You’ll find it in the Window menu at the top of your screen.
Experimenting with the different tools in the Tools panel will help you learn many interesting ways to use them.
Creating a Logo in Illustrator
Illustrator is often used to create quality logos that can be resized and used in various other forms of branding such as letterheads, email footers, etc.
When creating a new logo, you’ll first have to set up your document before even starting with the design work. Once in Illustrator, click on ‘Create New,’ then choose the size preset for your project. You can use any recommended ones for your logo, but we prefer using ‘Letter.’ Click on the blue ‘Create’ button to get started.
Illustrator has different workspaces depending on what you need. To create a logo, we will be using the painting workspace. Click on ‘Workspaces’ in the upper right-hand corner of your screen, then choose ‘Painting.’
First off, start with the basic shape of your logo. You can use circles, squares, rectangles, and many other shapes. To draw the basic shape of your logo, click and hold the ‘Ellipse’ tool to see the shapes available. Once you’ve chosen a shape, click and drag with your mouse on the document to draw the shape.
Now you can start adding more elements to your logo. To add a color to your shape, click on the ‘Selection’ tool in your toolbox and then choose the color from the color swatches on the right side of your screen. You can also add more lines or shapes to give your logo some details.
However, remember that when you add a new image, you’ll have to create a new layer by clicking on the + icon in the layers menu. Working in layers will let you change one element without affecting the rest, which is very useful, especially in more complex designs.
Now that you have the basics of your logo, you can finally add the text. Click on the ‘Text’ tool in your toolbox. Then click on your document where you want to start adding the text and type. Once you’ve typed your text, you can change the font and size and move it if your placement isn’t correct.

Effects and 3D in Illustrator
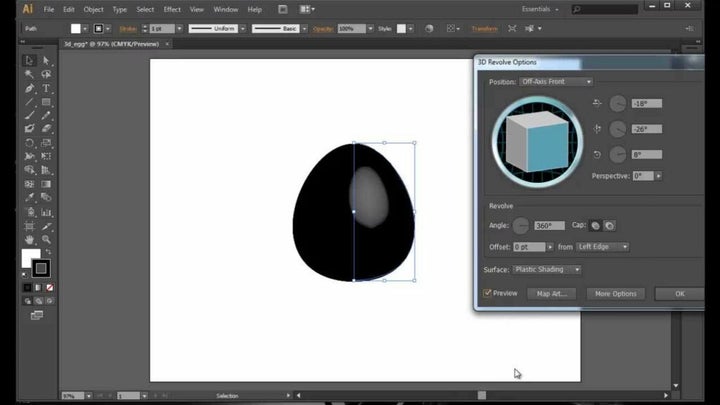
Using effects can sometimes completely transform your image or design. Adobe Illustrator has many different effects to choose from. To use these different effects on your images is quite simple. Let’s take a look at 3D effects in Illustrator.
Select the object in your image that you want to apply the effect to. Click on the ‘Effect’ tab in your menu. You will see many different options appear in the drop-down list. Click on ‘3D Classic’ and then choose ‘Extrude and Bevel.’ Now you can change the settings of your extrusion and beveling to get the desired look you’re after.
Practice Makes Perfect
There is a lot of information on using Illustrator on Adobe sites and others on the Internet. There are manuals that go into precise detail on all the program’s numerous features to guide you as your skills grow after you have mastered the basics.
You can also find videos that go into detail on different aspects of the program. There are forums where you can connect with experts and ask questions. Experienced users have written blogs and shared their history of learning the program, which is complex and can seem difficult to master at first.
There are add-ons for Adobe Illustrator that can enhance your work. Have a look at Envato Market, which provides many styles, textures, patterns, and brushes you can use.
Saving Your Vector Art
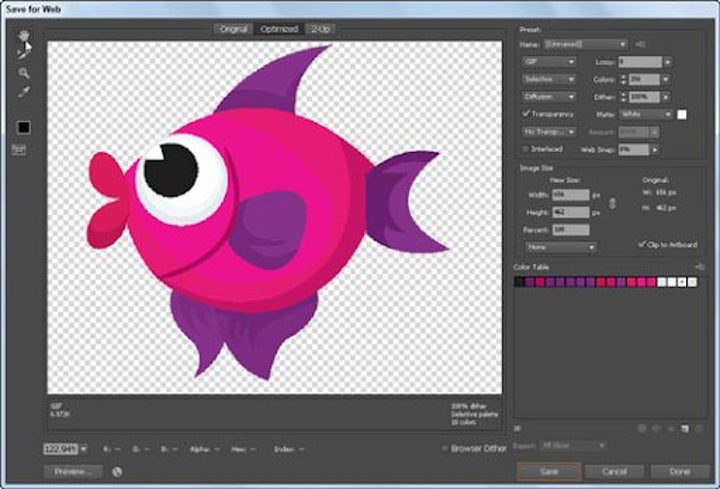
You can create the best graphics in the world, but if you don’t save them properly, you’ll limit access to them. If you’re saving your work as a gif, jpg or png, you should also learn how to Save for Web. It’s a fundamental thing to remember to do with your vector graphics or artworks. It’s easy. Go to File > Save for Web, select your file type and save.
Illustrator Tips and Tricks
Let’s take a look at some Illustrator tips and tricks. You can also check out our guide on how to remove a background.
How to Find PMS Color in Illustrator
Open the file you want to know the PMS color from. Using the direct selection tool click on the part of the image where you want to identify the color. With the image selected, click on the color panel to the right of your screen. A window will pop out showing you the PMS color.
How to Get Pantone Colors in Illustrator
Open the file you want to get the Pantone color from. Select the colored area in the image that you need. Now click on the ‘Window’ tab in the top menu of Illustrator. This will open a drop-down list. Here you need to click on ‘Color and Swatches.’ This will open a new panel that will show the Pantone reference for the color you selected.
How to Use Typography in Illustrator
To add special typography characters to your designs in Illustrator, click on ‘Window’ in your top menu. In the drop-down list, choose ‘Type’ and then select ‘Glyph.’ Scroll through the available options until you find the symbol you want. Click on it to select it, and then double-click to insert it into your design. Adobe Illustrator will place the symbol where your flashing cursor icon is.
How to Use Font Effects in Illustrator
There are many different font effects that you can use in your design on Illustrator. To add a font effect, select the font in your design. Now, click on ‘Effects’ in the top menu. A drop-down menu will appear, showing all the available effects for your text. Choose the one that suits your design needs and add the effect to your text.
How to Use Pathfinder in Illustrator
To use the Pathfinder tools, you need to have two images overlapping. You can find the Pathfinder panel by clicking on ‘Windows’ and then selecting ‘Pathfinder.’ With the Pathfinder panel open, select your two images that are overlapping, and choose which function you want to apply. There will be options like uniting the two shapes, removing the front, just keeping the intersection, excluding the intersection, and more.
How to Use the Ruler in Illustrator
To view the rulers in Illustrator, click on ‘View’ in the top menu. A drop-down list with options will appear. From this list, select ‘Rulers’ then ‘Show Rulers’. Now you will see the rulers appear on your design, and you can use them for more precise sizing.
Latest from Leri Koen
You may also like
 News
NewsThe perfect series to watch while drinking wine is back on Apple TV
Read more
 News
NewsChatGPT will have ads, although they said it was the last resort
Read more
 News
NewsIf you have Redmi Buds, be careful: they can spy on you through them
Read more
 News
NewsDuring World War II, soldiers had their own Bugs Bunny that only lasted two years before disappearing forever
Read more
 News
NewsThere is a card from 'Pokémon TCG Pocket' that has completely broken the game
Read more
 News
NewsHalf a year has passed, but 'One Piece' has finally finished its longest flashback
Read more