How To
How to change text font in Adobe Illustrator
- March 18, 2022
- Updated: July 2, 2025 at 3:52 AM
Fonts are an essential part of graphic design. They can set the tone and create a certain mood or feeling for your project. In Adobe Illustrator, you have access to more than 17,000 different fonts.
You can import these via Adobe Fonts (formerly called Typekit), which comes with your Creative Cloud subscription. Changing text font in Adobe Illustrator just requires a few simple steps.
Add a line of text
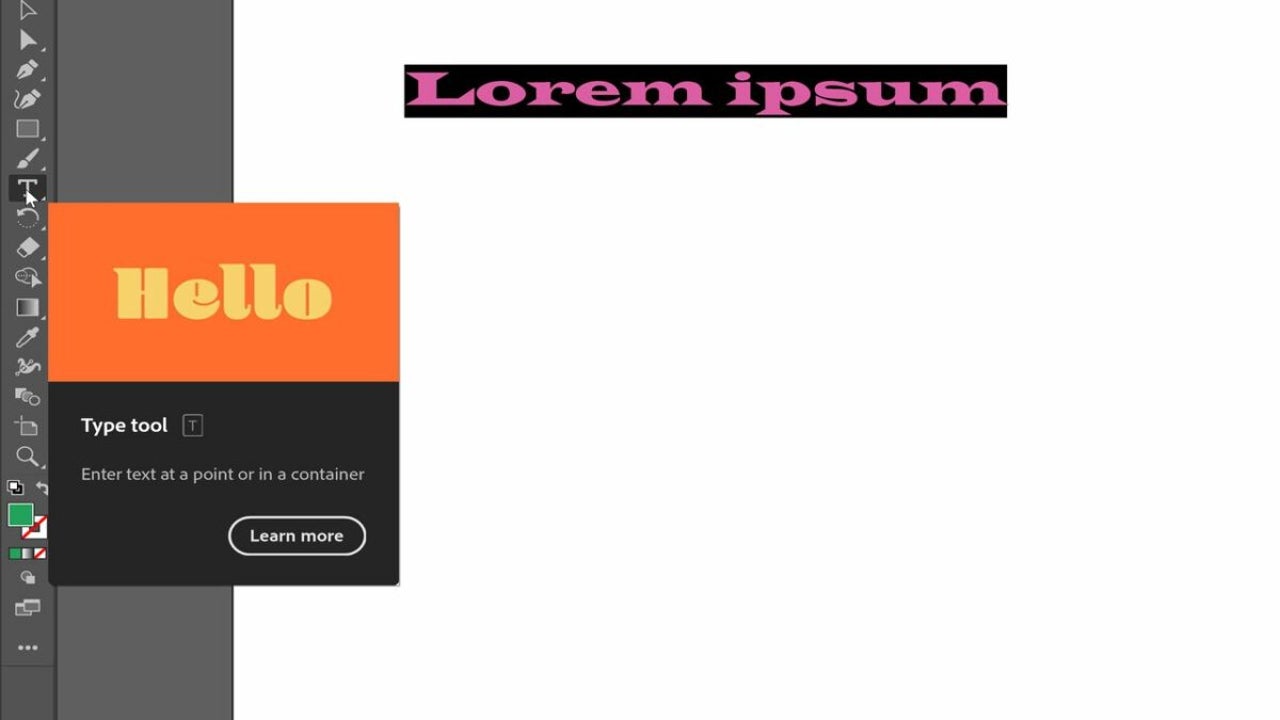
The first step is to add text to your project. After you’ve opened your project in Illustrator, select the Type tool panel located in the Tools bar on the left side of your screen. Click in the document where you want to create a text box. The text that appears is called point-type text. You can use point-type text in everything from headlines and copy blocks to logos and other objects.
To allow further editing, go to the selection panel located at the top left of your screen. A box will appear around your text. The box around your text indicates that the text got selected and is ready for editing. Pick a corner and drag to resize the text box.
You can also add more text by clicking and dragging in the document to create a new text box. The Type tool will automatically create point-type text in a new layer.
Make a few edits
With your text on your artboard, you can now proceed to make text changes to the font, size, and style with a few clicks. Drag across your text, or press Control+A (For Windows) or Command+A (For macOS), to select it. Then, go to the Character panel located on the right side of your screen.
You’ll find the wide variety of fonts that Adobe Illustrator comes with at the top of the Character panel. To change the font, simply click on the drop-down menu and choose the font you want.
You can also experiment with different font styles like bold or italic by clicking on the respective buttons on the Character panel. To change the size of your text, enter a new value in the Font Size field or use the slider.
Explore more font options
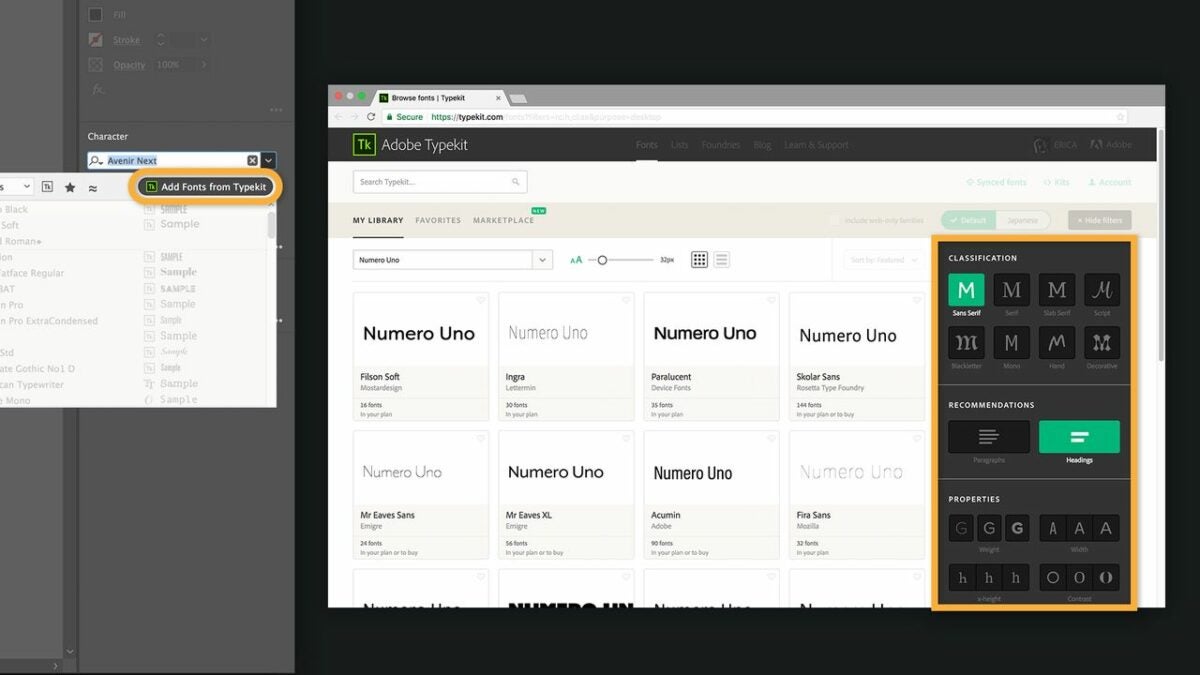
To maximize the potential of your project, it is important to explore as many font options as possible. You can easily change Adobe Illustrator text font to match the look and feel of your document. This is where you can use the Adobe Fonts library that comes free with your Creative Cloud subscription. This library offers more than 2,500 font families that you can sync to your computer.
To access Adobe Fonts in Adobe Illustrator, go to the Character panel and click on the font drop-down menu. Select More Options from the list. A new window will appear with a search bar to type in the name of the font you want to use.
Select the fonts you want to add to your library and click Add to Library. The fonts will now be available in Adobe Illustrator. There are also many free and paid font libraries that you can explore. Some of these include Google Fonts, DaFont, and Font Squirrel.Work on the letters
Now that you have changed the text font in Adobe Illustrator, you can start adjusting the individual letters. To do this, go to the Layers panel located on the right side of your screen.
Click on the layer that contains your text to select it. Then, click on a letter to choose it. You will see a box around the letter with a blue outline. The box indicates that the letter got selected and is ready for editing.
Simply click and drag it to the desired location to move the letter. To change the size of the letter, go to the Character panel and enter a new value in the Font Size field or use the slider.
You can also change the color of the letter by clicking on the Color panel and choosing a new hue. You can also add a stroke to the letter. Go to the Stroke panel and select width and color for the stroke of your choice.
There are many other things that you can do to edit individual letters. Experiment with different options and see what works best for your project.
Save your work
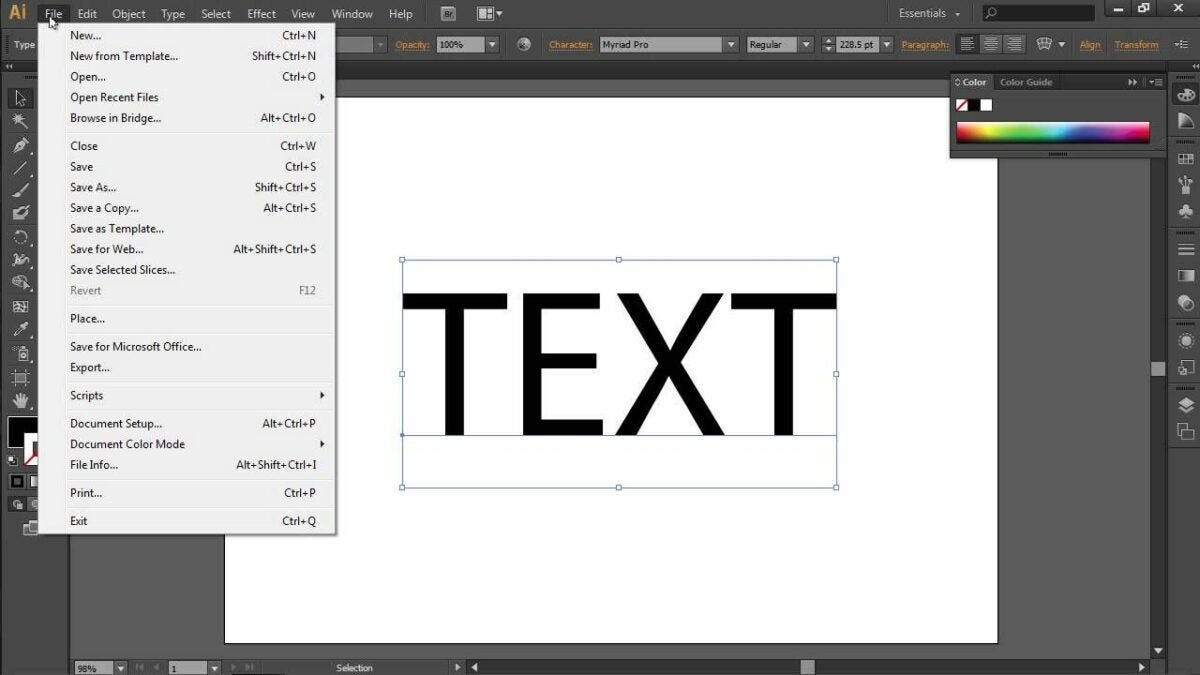
When you are happy with the changes you have made, it is time to save your work. To do this, go to File > Save As (give it your desired name) and choose a location for your file. Make sure to select Adobe Illustrator from the Format drop-down menu.
Click Save, and your file will get saved as an Adobe Illustrator document. You can now close the file and open it at any time to continue working on it.
With these tips, you should be able to change text fonts in Adobe Illustrator with ease. Try out different fonts and see which one best suits your project. Remember to have fun and be creative.

You may also like
 News
NewsThis horror movie is fascinating everyone who watches it for a very simple reason: it is narrated from the perspective of a little dog
Read more
 News
NewsNetflix is taking the world by storm with its new political thriller about two world leaders on the brink of disaster
Read more
 News
NewsEmily in Paris continues on Netflix with the date of its new season for this year, but no longer in Paris
Read more
 News
NewsThe medical series that is sweeping the Television Critics Association Awards with four awards
Read more
 News
NewsJames Gunn is aware that DC's video games have a problem and has a plan to fix it
Read more
 News
NewsEmily in Paris is back. The series with the most glamour will return as a Christmas gift
Read more