How To
Master these Adobe Illustrator basics to build any type of object
- February 9, 2022
- Updated: July 2, 2025 at 3:56 AM
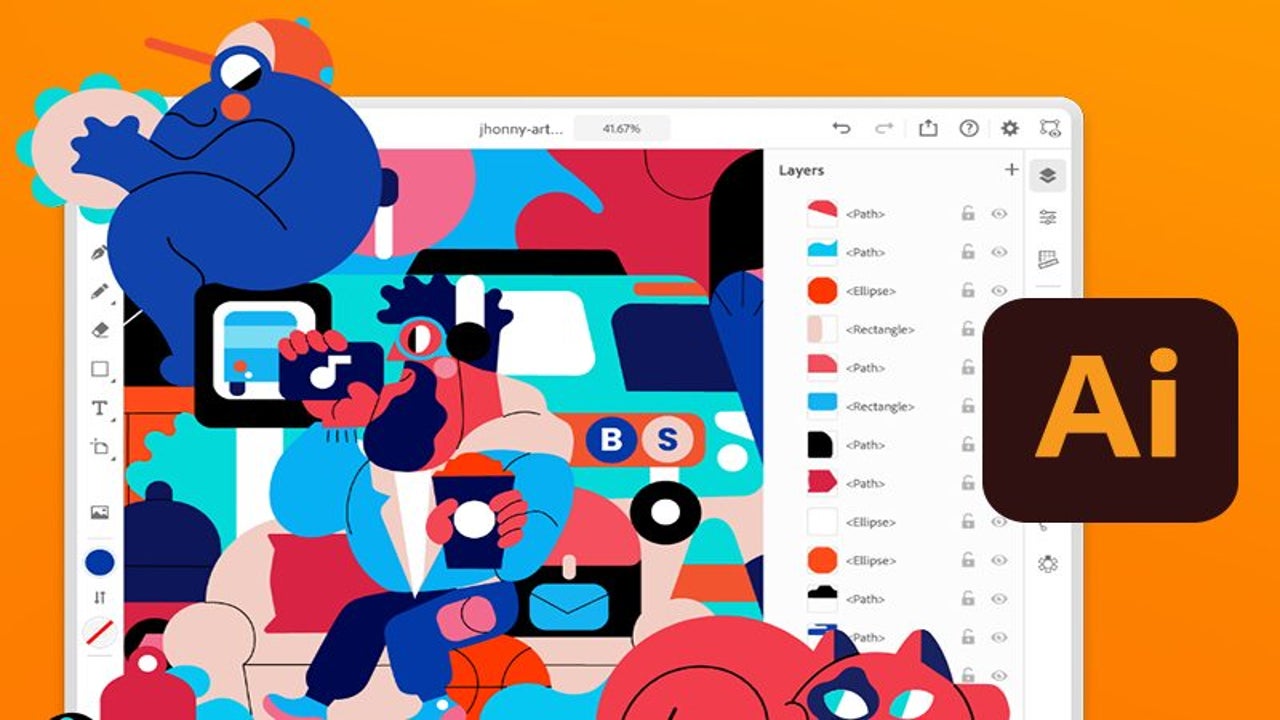
Graphic designers use Adobe Illustrator to create vector graphics. The program’s intuitive interface provides a user-friendly environment with helpful tutorials for both beginners and seasoned professionals. With Illustrator, you can create everything from icons to logos.
Adobe Illustrator offers various tools that are important for designers. Once you understand the basics of selection, shape builder, and other tools, you can create, modify, and combine all types of objects in Adobe Illustrator.
How to build objects with simple vector shapes
When it comes to making logos, icons, and other objects, designers often have a great concept but are unsure of where to begin. The best place to start is with basic shapes. The Adobe Illustrator shape tool can create circles, squares, rectangles, polygons, stars, and much more. Follow these steps to get started in object creation.
Create a shape
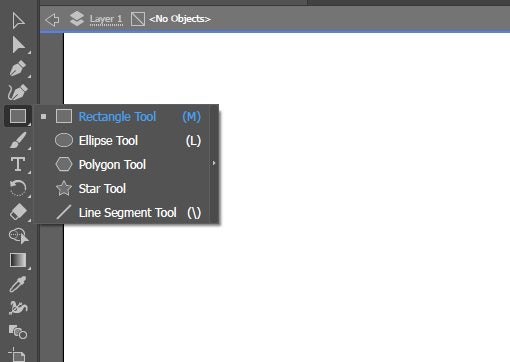
– The easiest way to create an object in Adobe Illustrator is to use the shape tool. To create a shape, first select the rectangle tool; you’ll find it about five icons down on your in your Toolbar on the left of the screen.
– If you left-click and hold on the rectangle tool, you’ll see options for rectangle, ellipse, polygon, star, and line segment tool appear as well. Select the shape you wish to create.
– Click into the artboard where you want to create the shape. Click and hold the left mouse button to adjust the size of your shape. When you let go of the click, your shape will be created.
– Add color and an outline to your shape by selecting the fill and stroke tool (the two-box icon) near the bottom of your Toolbar. When you double-click this icon, the color picker will appear. Tip: Hover your cursor over any icon in the Toolbar to find out what that tool is.
Move and resize shapes via the box handles
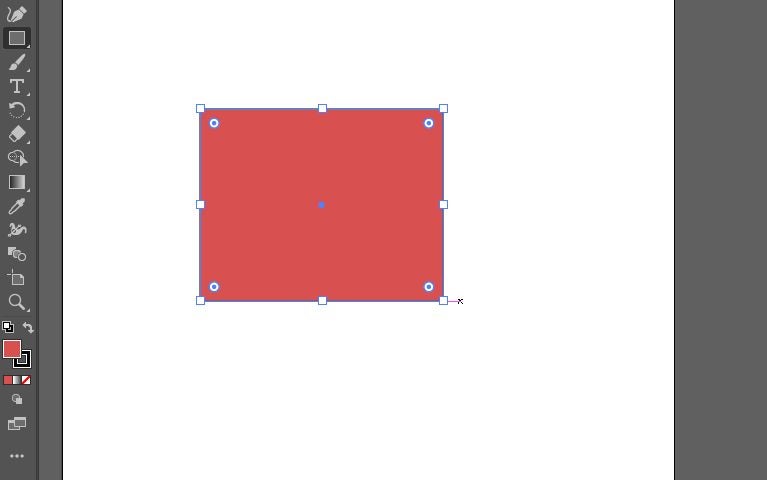
– After you’ve placed the shape, you can move and modify it. You’ll do this with the bounding box handles that surround your shape.
– Select and hold the middle point to move your shape. You can also rotate the shape by clicking away from any handle.
– To resize, click and drag any of the box handles. If you hold shift while doing this, you’ll constrain proportions. To constrain proportions from the center point while resizing, hold shift and option (MacOS) or alt (Windows).
- With the off-center box handle, you can create rounded points in your shape.
Creating new shapes with more or fewer points
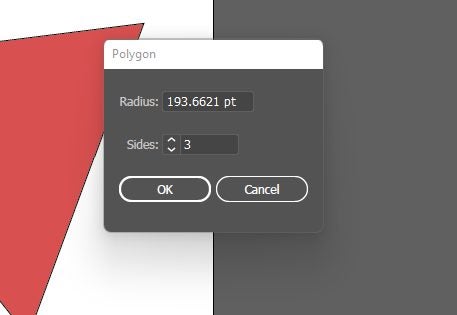
– To create some shapes, such as a triangle, you’ll need to change the number of sides or points in your polygon. You can do this via the polygon tool.
– With the polygon tool selected, left-click into the artboard once. A polygon window will appear. You can change the number of sides from here.
- Another method is to change your shape dynamically by dragging the side widget.
Use the selection tool and shape builder tool to combine
– If you make multiple shapes, you may want to readjust the different objects individually. To do this, use the selection tool, which is the top arrow in the toolbox. Simply click an object to select it.
– You can also use the selection tool to select multiple objects. To do this, click off the shapes in your artboard; hold down the left click and drag to create a marquee that highlights all the objects you want to select.
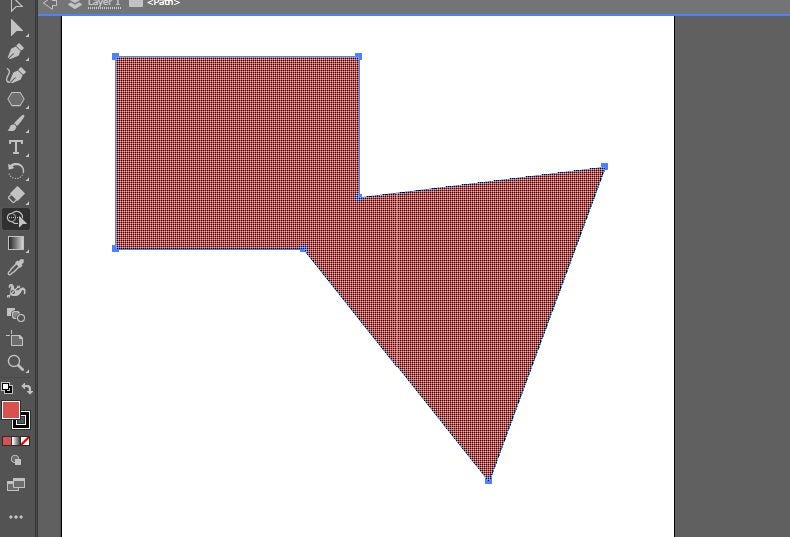
– Try using the selection tool to move objects on top of each other. This is the first step to combining objects, an important method for designers.
- To combine shapes, you must first select all the overlapping shapes. Using the shape builder tool, drag a line through all the shapes you want to combine.
Use the shape builder tool to break shapes apart
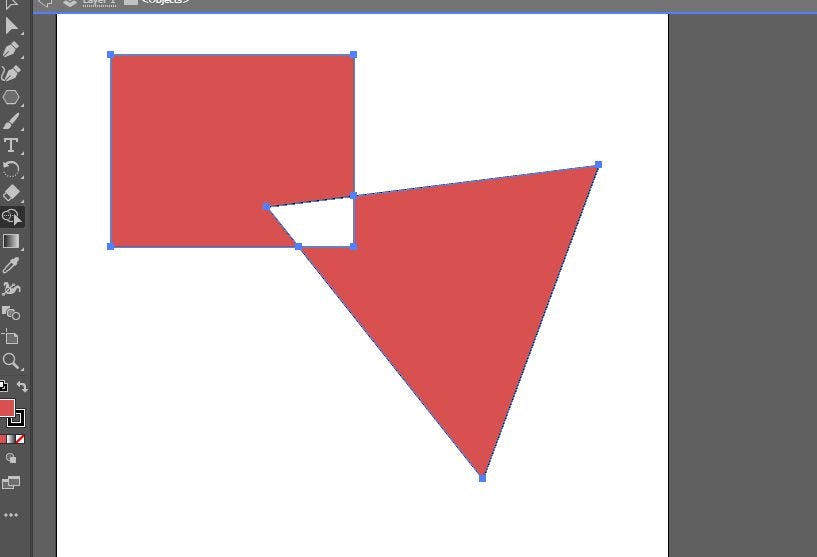
– The shape builder tool can also break apart united objects and act as a cookie cutter. To do this, first use the selection tool to select the united shape.
– Next, select the shape builder tool. This tool automatically functions as an additive tool. To change the function to subtractive, press option (MacOS) or alt (Windows). You’ll see the plus under your cursor change to a minus.
- With the subtractive function enabled, click on any part of the shape you want to punch out. For example, you can punch out the overlapping space between two objects.
Continue to experiment with Adobe Illustrator
There are certainly many different ways to build objects in Illustrator. However, the above instructions cover the basics you can use to help build any type of object. Don’t be afraid to experiment and combine different methods to build objects in Illustrator.

You may also like
 News
NewsCan you guess which streaming service we watch more than Netflix during the day?
Read more
 News
NewsThe Netflix Assassin's Creed already has lead actors
Read more
 News
NewsStranger Things returns for Christmas Eve with the Duffer brothers promising us an LGBTIQ+ resolution for the story
Read more
 News
NewsOne of the games canceled by Microsoft this year might have been closer to completion than we imagined
Read more
 News
NewsThe most acclaimed film by Christopher Nolan was going to be directed by Steven Spielberg
Read more
 News
NewsWorld of Warcraft announces a new open world system
Read more